How to Install a Pipe Flange on a Steel Roof
A Comprehensive Guide to Installing a Pipe Flange on a Steel Roof
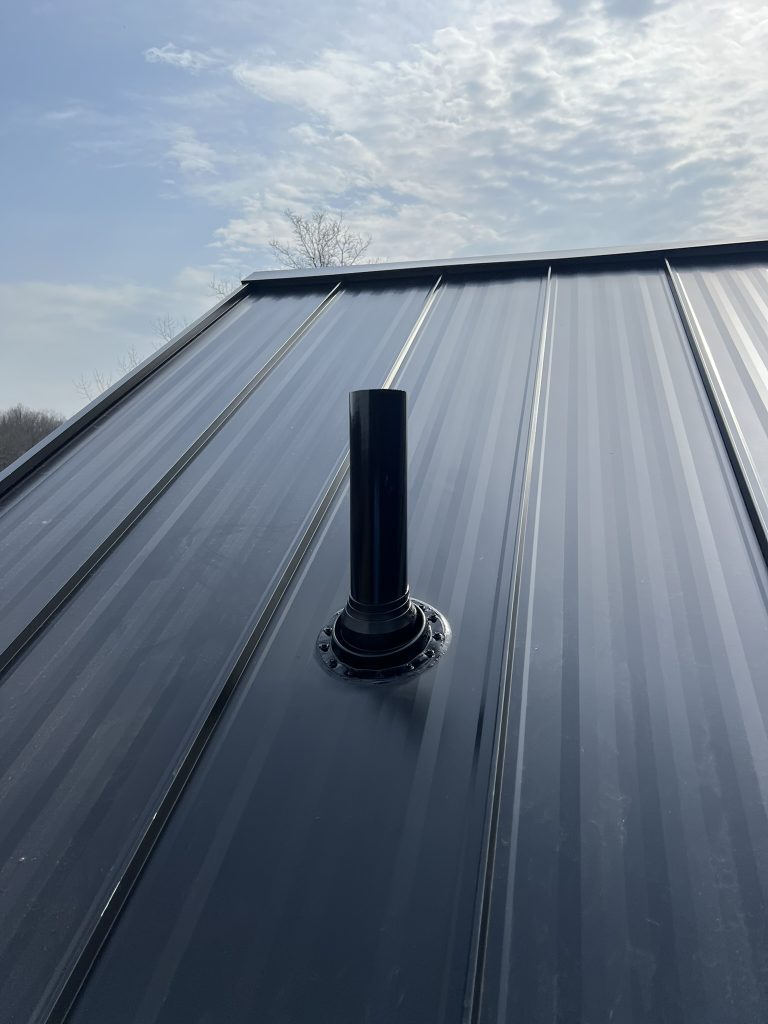
Installing a pipe flange on a steel roof is crucial for a watertight seal and a professional finish. Here’s a detailed guide:
- Preparation and Safety:
Gather the necessary tools: measuring tape, metal cutting tools (angle grinder or hole saw), a drill with metal bits, roofing screws with rubber washers, high-quality roofing sealant, and the pipe flange. Wear gloves, safety goggles, and non-slip footwear for safety. - Measure, Mark, and Align:Measure the pipe’s diameter (add 1/4″) and determine the best location for it to pass through the roof. Ideally, position the pipe between the standing seams of the metal roof. Using (2) 45-degree elbows to adjust the pipe’s path if necessary, ensuring it fits neatly between the seams.
1. Cutting the Hole:
Carefully cut the marked hole using an angle grinder or a hole saw with a metal-cutting blade. Deburr the edges to prevent sharp metal from causing damage.
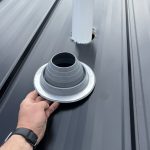
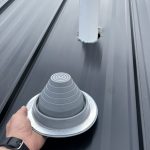
2. Positioning the Flange:
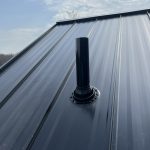
Slide the pipe flange over the pipe and position it so that it sits flush on the steel roof surface. Ensure the rubber boot or gasket fits snugly around the pipe.
3. Applying Sealant:
Apply a continuous bead of high-quality, weatherproof roofing sealant around the base of the flange where it contacts the steel roof. This ensures a watertight seal and prevents moisture intrusion.
4. Securing the Flange:
Fasten the flange to the steel roof using roofing screws with rubber washers. Space the screws evenly around the flange to ensure a tight and uniform fit. The rubber washers help maintain a watertight seal around the screws.
5. Additional Sealant:
Apply an extra layer of sealant around the edges of the flange and over each screw head to add an additional barrier against water infiltration.
6. Inspection and Testing:
Inspect the installation for any gaps or areas that may need more sealant. If possible, run a water test to check for leaks.
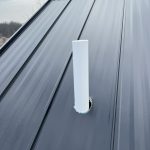
7. Final Finish:
For a more polished and attractive look, apply one or two coats of Rust-Oleum paint in a color that matches the roof. This not only enhances the appearance but also adds an extra layer of protection against the elements.
8. Final Check and Maintenance:
Inspect the interior area beneath the flange to ensure no moisture is present. Regularly check the flange and sealant to maintain its integrity, especially after severe weather

By incorporating these steps, including strategic pipe placement and a finishing coat of paint, you’ll achieve a professional and durable installation that looks great and stands the test of time.
0/5
(0 Reviews)